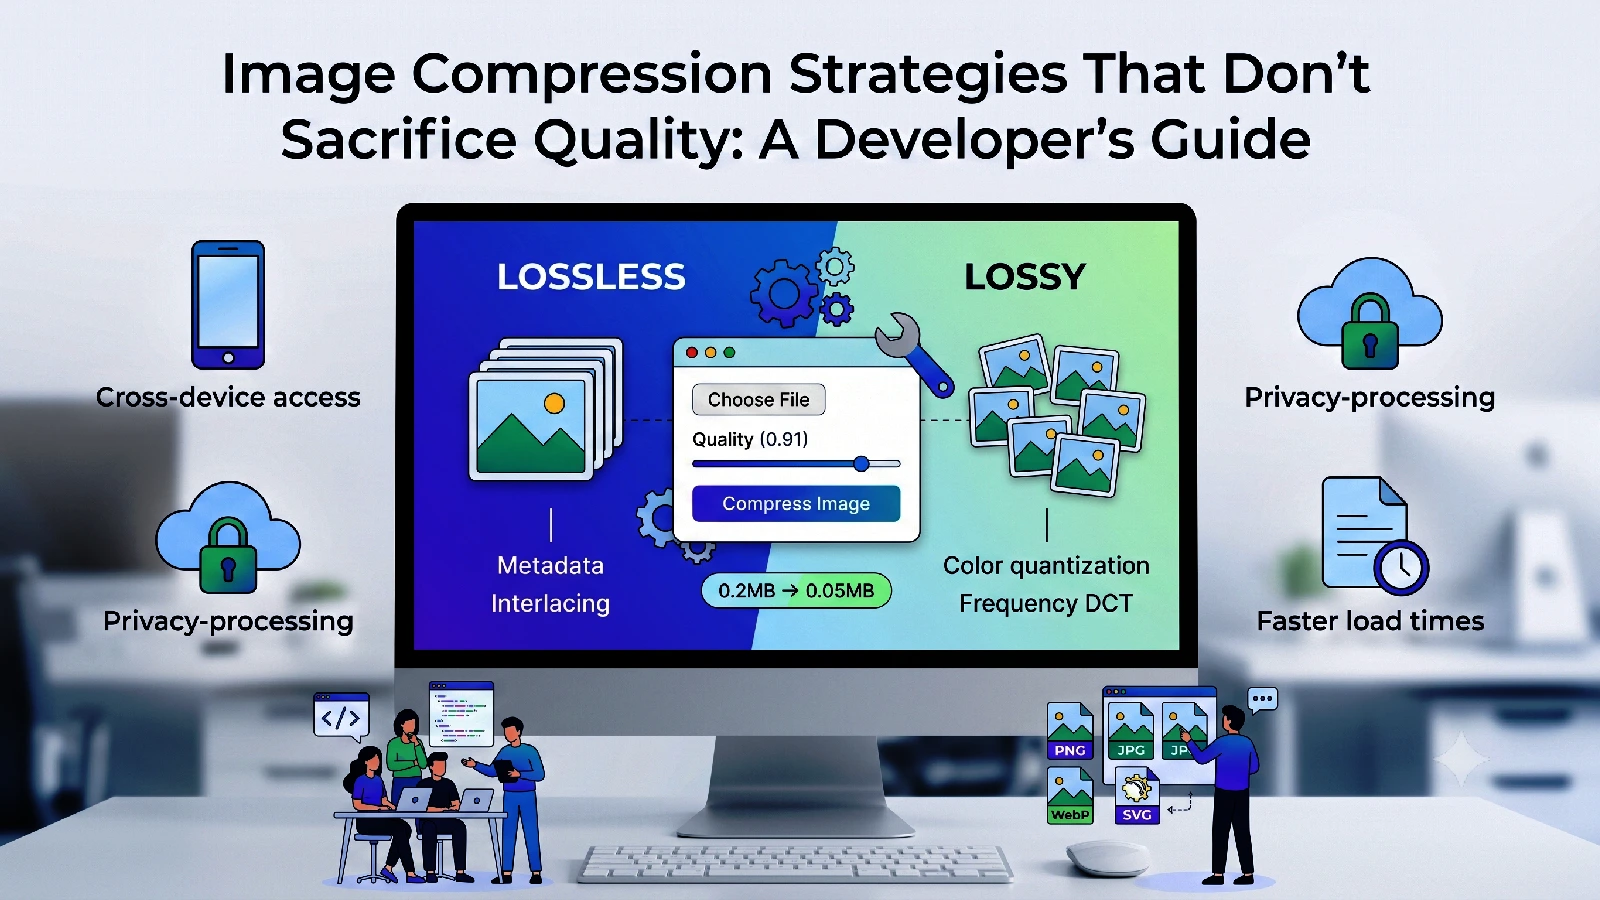
Images account for 71% of average webpage bandwidth usage. A single unoptimized image can add seconds to page load time, directly impacting user experience and search engine rankings. According to research, a 1-second delay in page load reduces conversions by 7%, making image optimization one of the highest-ROI performance improvements available.
Yet many developers and content creators remain confused about image optimization. Should you use JPEG or PNG? What quality level is “good enough”? How much can you compress before quality degrades noticeably?
Understanding Image File Formats
JPEG (Joint Photographic Experts Group)
Best For: Photographs, complex images with many colors, gradients
Compression Reality:
- Quality 75-80: Imperceptible to human eye; 70-80% smaller than quality 100
- Quality 60-70: Noticeable to trained observers; 80-90% smaller
- Quality below 50: Visible compression artifacts; not recommended for professional use
Use Cases:
- Product photography
- Blog post images
- Website background images
- Photo gallery thumbnails
- Any photographic content
Typical File Sizes:
- Full-quality photo (800x600): 400-600 KB
- Optimized (JPEG-75): 60-100 KB
- Aggressive (JPEG-60): 40-60 KB
PNG (Portable Network Graphics)
Best For: Graphics, charts, text-heavy images, images requiring transparency
Compression Methods:
- PNG-8: 256 colors maximum; smallest file size
- PNG-24: 16.7 million colors; larger file size
- PNG-32: Includes full alpha transparency channel
Use Cases:
- Charts and diagrams
- Icons and logos
- Screenshots with text
- Infographics
- Any image where transparency is needed
Typical File Sizes:
- Screenshot (PNG-24): 200-400 KB
- Optimized screenshot (PNG-8 where possible): 40-80 KB
- Icon (PNG-8): 5-20 KB
WebP (Modern Alternative)
Best For: Web-first optimization; supported in modern browsers
Characteristics:
- 25-35% smaller than JPEG at equivalent quality
- 25% smaller than PNG on average
- Better compression algorithm than JPEG
Browser Support: Chrome, Firefox, Edge (95%+ of users)
Practical Image Compression Workflow
Step 1: Choose the Right Format
Decision Tree:
- Is it a photograph? → Use JPEG or WebP
- Does it have transparency? → Use PNG-32 or WebP
- Is it a chart, diagram, or icon? → Use PNG
- Is browser support critical? → Use JPEG or PNG
- Modern browsers only? → Consider WebP with JPEG fallback
Step 2: Resize Before Compression
Critical Step: Many developers skip this, costing significant bandwidth
Never include an image larger than the maximum display size:
- Web image max width: 1920-2560 pixels
- Thumbnail: 200-400 pixels maximum
- Mobile image: 750-1200 pixels maximum
Example: A 4000×3000 image displayed at 600px width wastes 77% of data
Step 3: Choose Appropriate Quality Settings
Conservative Approach (Highest Quality):
- JPEG Quality: 85-90
- Use When: Portfolio work, professional photography, print-quality visuals
Balanced Approach (Recommended):
- JPEG Quality: 75-80
- Use When: E-commerce products, blog posts, most web content
- Result: 60-75% file size reduction vs. quality 100
Aggressive Approach (Maximum Compression):
- JPEG Quality: 60-70
- PNG-8: Where possible
- Use When: Mobile-only content, slow networks, bandwidth constraints
- Result: 80-90% file size reduction
- Caution: Noticeable quality loss for trained observers
Step 4: Remove Metadata
Images often contain unnecessary metadata:
- Camera settings (EXIF data)
- GPS information (privacy concern)
- Color profiles
- Thumbnail previews
Removal Impact: 5-15% additional file size reduction; zero quality impact
Format Selection by Use Case
Use Case: Product E-Commerce
Approach:
- Format: JPEG (primary) or WebP (modern browsers)
- Quality: 80
- Size: ~400-600px width
- Compression: Yes, remove metadata
- Progressive: Yes, for visual feedback
Expected Result: Professional appearance with 70% size reduction
Use Case: Article Blog Post
Approach:
- Photographs: JPEG-75, 600-800px width
- Charts/Screenshots: PNG-24, 600-800px width
- Icons: PNG-8, 40-100px
Expected Result: Balanced quality and loading time
Use Case: Mobile App
Approach:
- Format: WebP with JPEG fallback
- Quality: 70-75
- Size: 400-600px maximum
- Aggressive compression: Yes
- Lazy loading: Essential
Expected Result: Fast app performance, minimal storage overhead
Advanced Compression Techniques
Progressive JPEG
Instead of storing image data top-to-bottom, progressive JPEG stores multiple passes of increasing quality. Users see something immediately while the image loads in the background.
Advantage: Perceived load time is faster
Trade-off: File size 5-10% larger
Recommendation: Use for main content images; standard JPEG for thumbnails
Retina/2x Images
Modern high-DPI displays (retina, 4K) require 2x resolution images for sharpness:
Strategy:
- Create 2x version (double resolution)
- Reduce quality to 60-70% to compensate
- Target file size: Similar to standard quality 85 image
Example: Standard 600×400 image at quality 80 (80 KB) ≈ 1200×800 image at quality 65 (85 KB)
Result: High-quality display on all devices; no file size increase
Real-World Optimization Examples
Example 1: Blog Post Hero Image
- Original: 2560×1440 JPEG at quality 100 (2.4 MB)
- Optimized: 1200×675 JPEG at quality 78 (145 KB)
- Result: 94% size reduction, imperceptible quality loss
- Impact: Hero loads in 200ms instead of 2+ seconds
Example 2: Product Thumbnails
- Original: 10 PNG files, 200×200 pixels, uncompressed (2.3 MB)
- Optimized: 10 JPEG files, quality 75 (240 KB)
- Result: 90% size reduction
- Impact: Thumbnail gallery loads instantly
Example 3: Mobile Product Gallery
- Original: 6 images, 4000×3000, quality 90 (18 MB)
- Optimized: 6 images, 800×600, quality 70, progressive JPEG (1.2 MB)
- Result: 93% size reduction
- Impact: Gallery loads on slow mobile networks
Image Compression Best Practices Summary
- Resize First: Always resize to actual display size
- Choose Format Wisely: JPEG for photos, PNG for graphics
- Quality 75-80: Optimal balance for most use cases
- Test Thoroughly: Compare on multiple devices and networks
- Remove Metadata: Strip EXIF, GPS, and unnecessary data
- Consider WebP: For modern browsers, significant savings
- Progressive JPEG: For main images; improves perceived performance
- Automate When Possible: Build compression into development workflow
Conclusion
Image optimization is not a one-size-fits-all solution. The best approach depends on your content type, audience, and performance requirements. However, the principles remain consistent: choose the right format for your content, resize appropriately, compress intelligently, and test ruthlessly.
By following the strategies in this guide, you can expect to reduce image file sizes by 70-90% while maintaining professional visual quality.
Try our Image Compressor Tool to optimize your images instantly—browser-based, no uploads, completely private.